Guided Admin Tour
A built-in onboarding walkthrough runs the first time a new admin opens the WP Sell Services dashboard. It introduces the sidebar, the at-a-glance stats cards, and each of the main sub-screens — Services, Vendors, Orders, and Settings — so a first-time operator knows where everything lives without reading docs first.
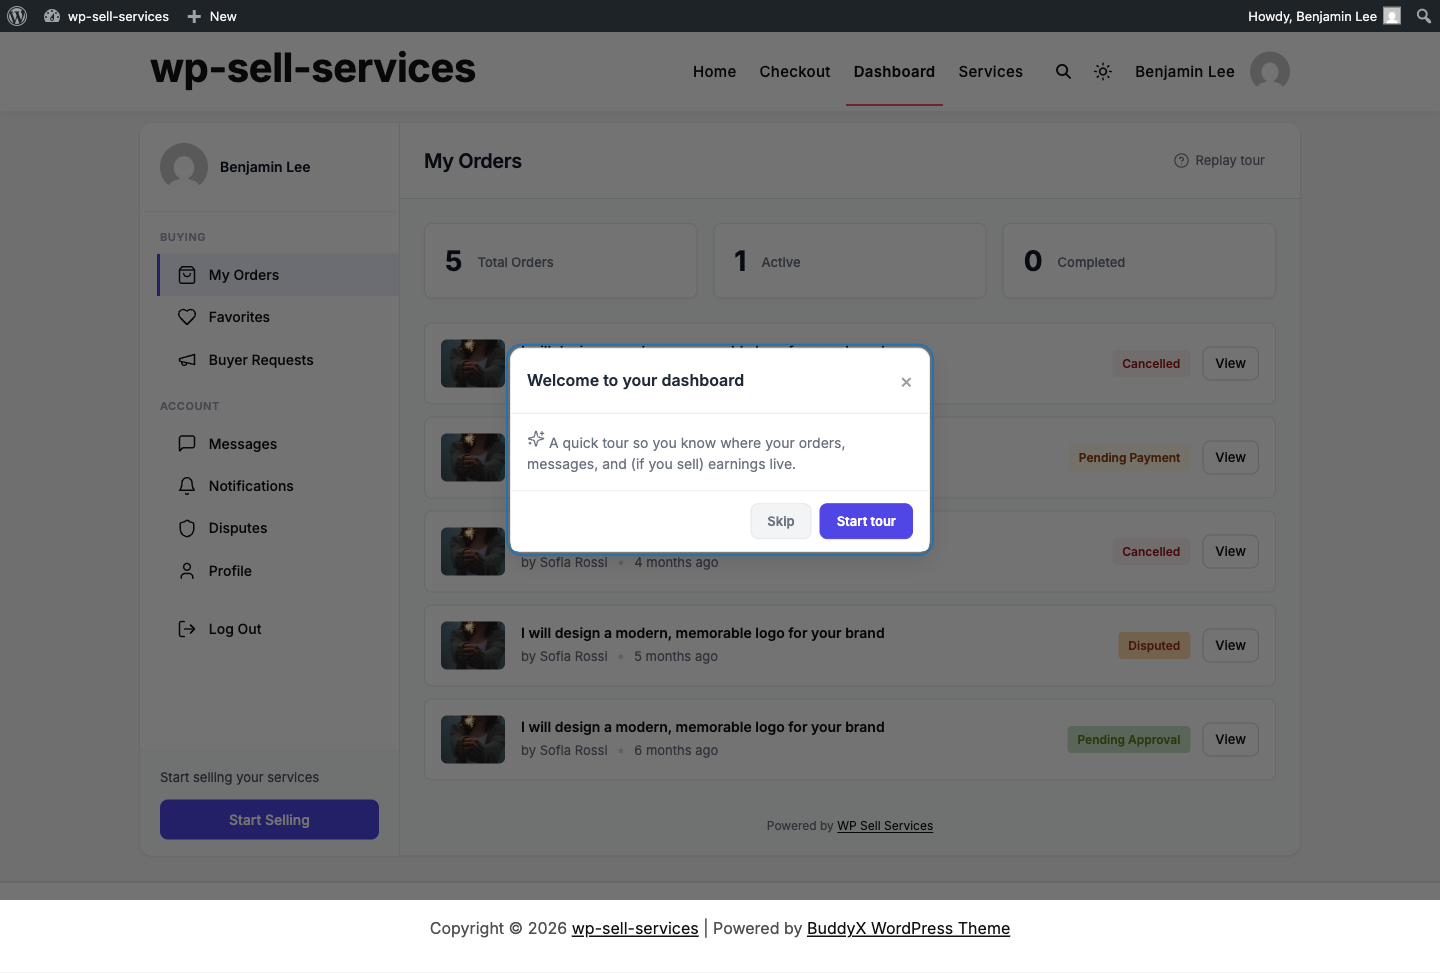
When The Tour Starts
The tour auto-opens the first time a logged-in admin lands on Sell Services > Dashboard. It will not re-open on subsequent visits.
- Completion is persisted per-user in the
wpss_tour_completeduser meta - Clicking "Skip" counts as completion — the tour won't nag you again
- Each admin sees the tour once on their own account; a second admin on the same site still gets their own first-time walkthrough
The Eight Steps
- Welcome -- points at the "Sell Services" sidebar item
- Marketplace at a glance -- highlights the order/revenue stats cards
- Quick actions -- the shortcut panel for common admin tasks
- Services -- where vendor services live
- Vendors -- all vendor accounts and the registration flow
- Orders -- the 11-status order lifecycle
- Settings -- commission, payouts, tax, notifications
- You're all set -- sign-off with a pointer to the "Replay guide" button
Each step carries a short explainer, a Lucide icon, and Back / Next / Skip controls.
Replaying The Tour
After the first run, the Dashboard header shows a Replay guide button next to the page title. Click it any time to walk through again — you don't need to reset any user meta.
Letting Pro Or Custom Code Add Steps
The tour content is filterable. A Pro plugin or custom integration can append its own steps by hooking wpss_tour_steps:
add_filter( 'wpss_tour_steps', function ( array $steps ): array {
    $steps[] = array(
        'id'       => 'my-addon',
        'title'    => __( 'My Add-on', 'my-addon' ),
        'text'     => __( 'Configure the add-on here.', 'my-addon' ),
        'attachTo' => array(
            'element' => '#adminmenu a[href="admin.php?page=my-addon"]',
            'on'      => 'right',
        ),
        'buttons'  => array(
            array(
                'text'    => __( 'Back', 'my-addon' ),
                'action'  => 'back',
                'classes' => 'shepherd-button-secondary',
            ),
            array(
                'text'    => __( 'Next', 'my-addon' ),
                'action'  => 'next',
                'classes' => 'shepherd-button-primary',
            ),
        ),
    );
    return $steps;
} );
Two notes:
actionis a plain string -- the controller translatesnext/back/cancel/completeto the correct Shepherd callback.- If your
attachTo.elementselector doesn't match anything, the step still renders (centered) instead of aborting the tour. Safer for themes that restructure menu markup.
Resetting Completion For A User
If you need to force the tour to re-open automatically (for example, during a training session) delete the user's meta:
wp user meta delete <user_id> wpss_tour_completed
Or via SQL:
DELETE FROM wp_usermeta WHERE user_id = 1 AND meta_key = 'wpss_tour_completed';
The next time that user opens the dashboard the full walkthrough runs again.
Technical Notes
The tour is implemented with Shepherd.js v11 and Lucide for icons, both bundled locally (no CDN calls). The controller lives at assets/js/wpss-tour.js; step authoring is in src/Frontend/Tour.php (get_admin_tour_steps()). Completion is persisted through the REST endpoint POST /wpss/v1/tour/complete.