Dashboard Tour (Buyer & Seller)
The [wpss_dashboard] shortcode — where buyers track orders and sellers manage services — ships with a role-aware onboarding tour. The first time a logged-in user opens the page they see a short Shepherd.js walkthrough that points out the sections they actually need.
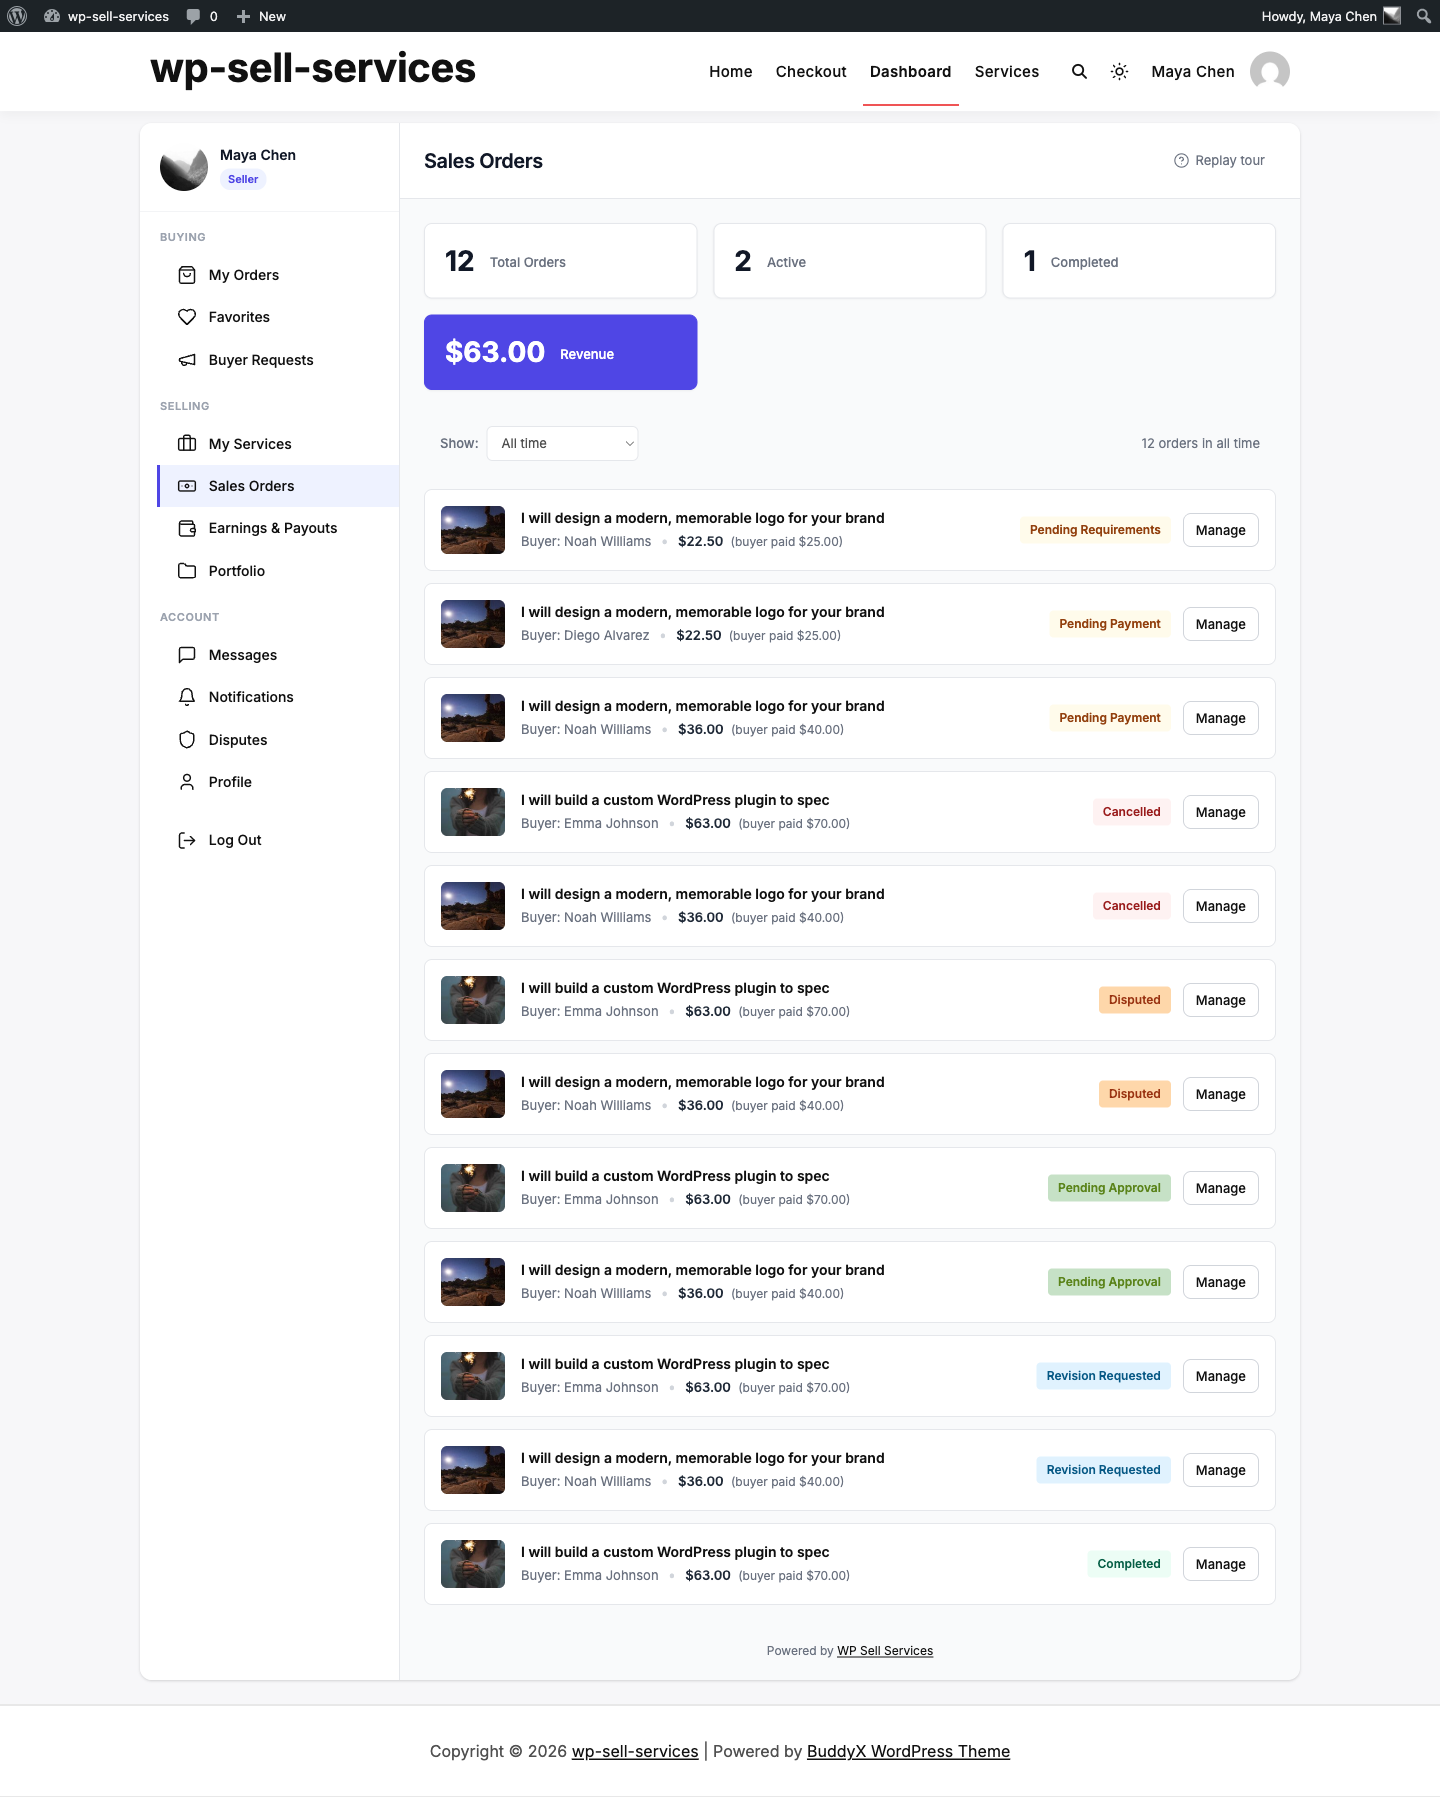
Who Sees What
The tour inspects the viewer's role and tailors the steps:
Active sellers see a 9-step walkthrough:
- Welcome
- Dashboard sidebar overview
- My Orders (things you've bought)
- Buyer Requests (posting custom jobs)
- My Services (your listings)
- Sales Orders (buyers who have purchased from you)
- Earnings & Wallet (NET earnings, ledger, CSV export)
- Messages (inbox for all order conversations)
- Finish
Buyers (no vendor role) see a shorter 7-step walkthrough that swaps the seller-specific steps for a single "Want to sell too?" step highlighting the Start Selling CTA in the sidebar.
Pending vendors (application submitted, waiting for admin approval) see the buyer flow without the "Start Selling" prompt — that button is already absent from their sidebar.
Logged-out visitors never see the tour — the shortcode renders a login prompt instead, so there's nothing meaningful to walk.
When It Opens
The tour auto-opens the first time a logged-in user hits any URL that renders the [wpss_dashboard] shortcode. Completion persists per-user through the wpss_tour_completed user meta, so it won't re-interrupt after that.
Clicking Skip, Finish, or the close icon all count as completion.
Replaying The Tour
The dashboard header has a subtle Replay tour button next to the primary CTAs (Create Service, Post Request). Click it any time to walk through again — no setting to toggle.
The replay uses window.wpssTour.start() under the hood, so you can also wire a theme-level "Take the tour" link anywhere on your site:
<a href="#" onclick="window.wpssTour && window.wpssTour.start(); return false;">
    Take the tour
</a>
Running The Tour For Your Users
Two good moments to nudge buyers/sellers toward the tour:
- Post-registration email — after a vendor is approved, link them to the dashboard with a line like "Not sure where to start? We'll walk you through it."
- Empty-state CTA — the buyer-orders empty state already has a Browse Services CTA; you can add a secondary "Take the tour" link via the
wpss_dashboard_empty_ordersfilter.
Resetting Completion
If a user asks to see the tour again but doesn't notice the Replay button, reset their meta:
wp user meta delete <user_id> wpss_tour_completed
The next page load auto-opens the full walkthrough.
Customising The Steps
Pro plugins and theme integrations can hook wpss_tour_steps to append or replace steps. The filter runs AFTER the built-in role-aware step list is built, so you can safely add steps without reimplementing role detection:
add_filter( 'wpss_tour_steps', function ( array $steps ): array {
    // Only add on the frontend dashboard, not the admin tour.
    if ( ! is_admin() ) {
        $steps[] = array(
            'id'       => 'my-rewards',
            'title'    => __( 'Loyalty Rewards', 'my-addon' ),
            'text'     => __( 'Earn points on every order.', 'my-addon' ),
            'attachTo' => array(
                'element' => '.my-rewards-badge',
                'on'      => 'left',
            ),
            'buttons'  => array(
                array( 'text' => 'Back', 'action' => 'back', 'classes' => 'shepherd-button-secondary' ),
                array( 'text' => 'Next', 'action' => 'next', 'classes' => 'shepherd-button-primary' ),
            ),
        );
    }
    return $steps;
} );
If your selector doesn't match anything on the page, the step renders centered — the built-in fallback keeps the tour walking through instead of aborting.
Related
- Admin Guided Tour — the sister walkthrough on the WP admin side
- Buyer Dashboard Overview — reference for every section the tour covers