PayPal, Razorpay & Offline Payments
Beyond Stripe, WP Sell Services supports PayPal, Razorpay, and offline bank transfers so you can offer the payment methods your buyers prefer.
PayPal
PayPal lets buyers pay with their PayPal balance, linked bank account, or credit/debit card -- even without a PayPal account.
Setting Up PayPal
- Create a PayPal Business account at paypal.com/business (if you do not have one)
- Go to the PayPal Developer Dashboard
- Create an app to get your Client ID and Secret
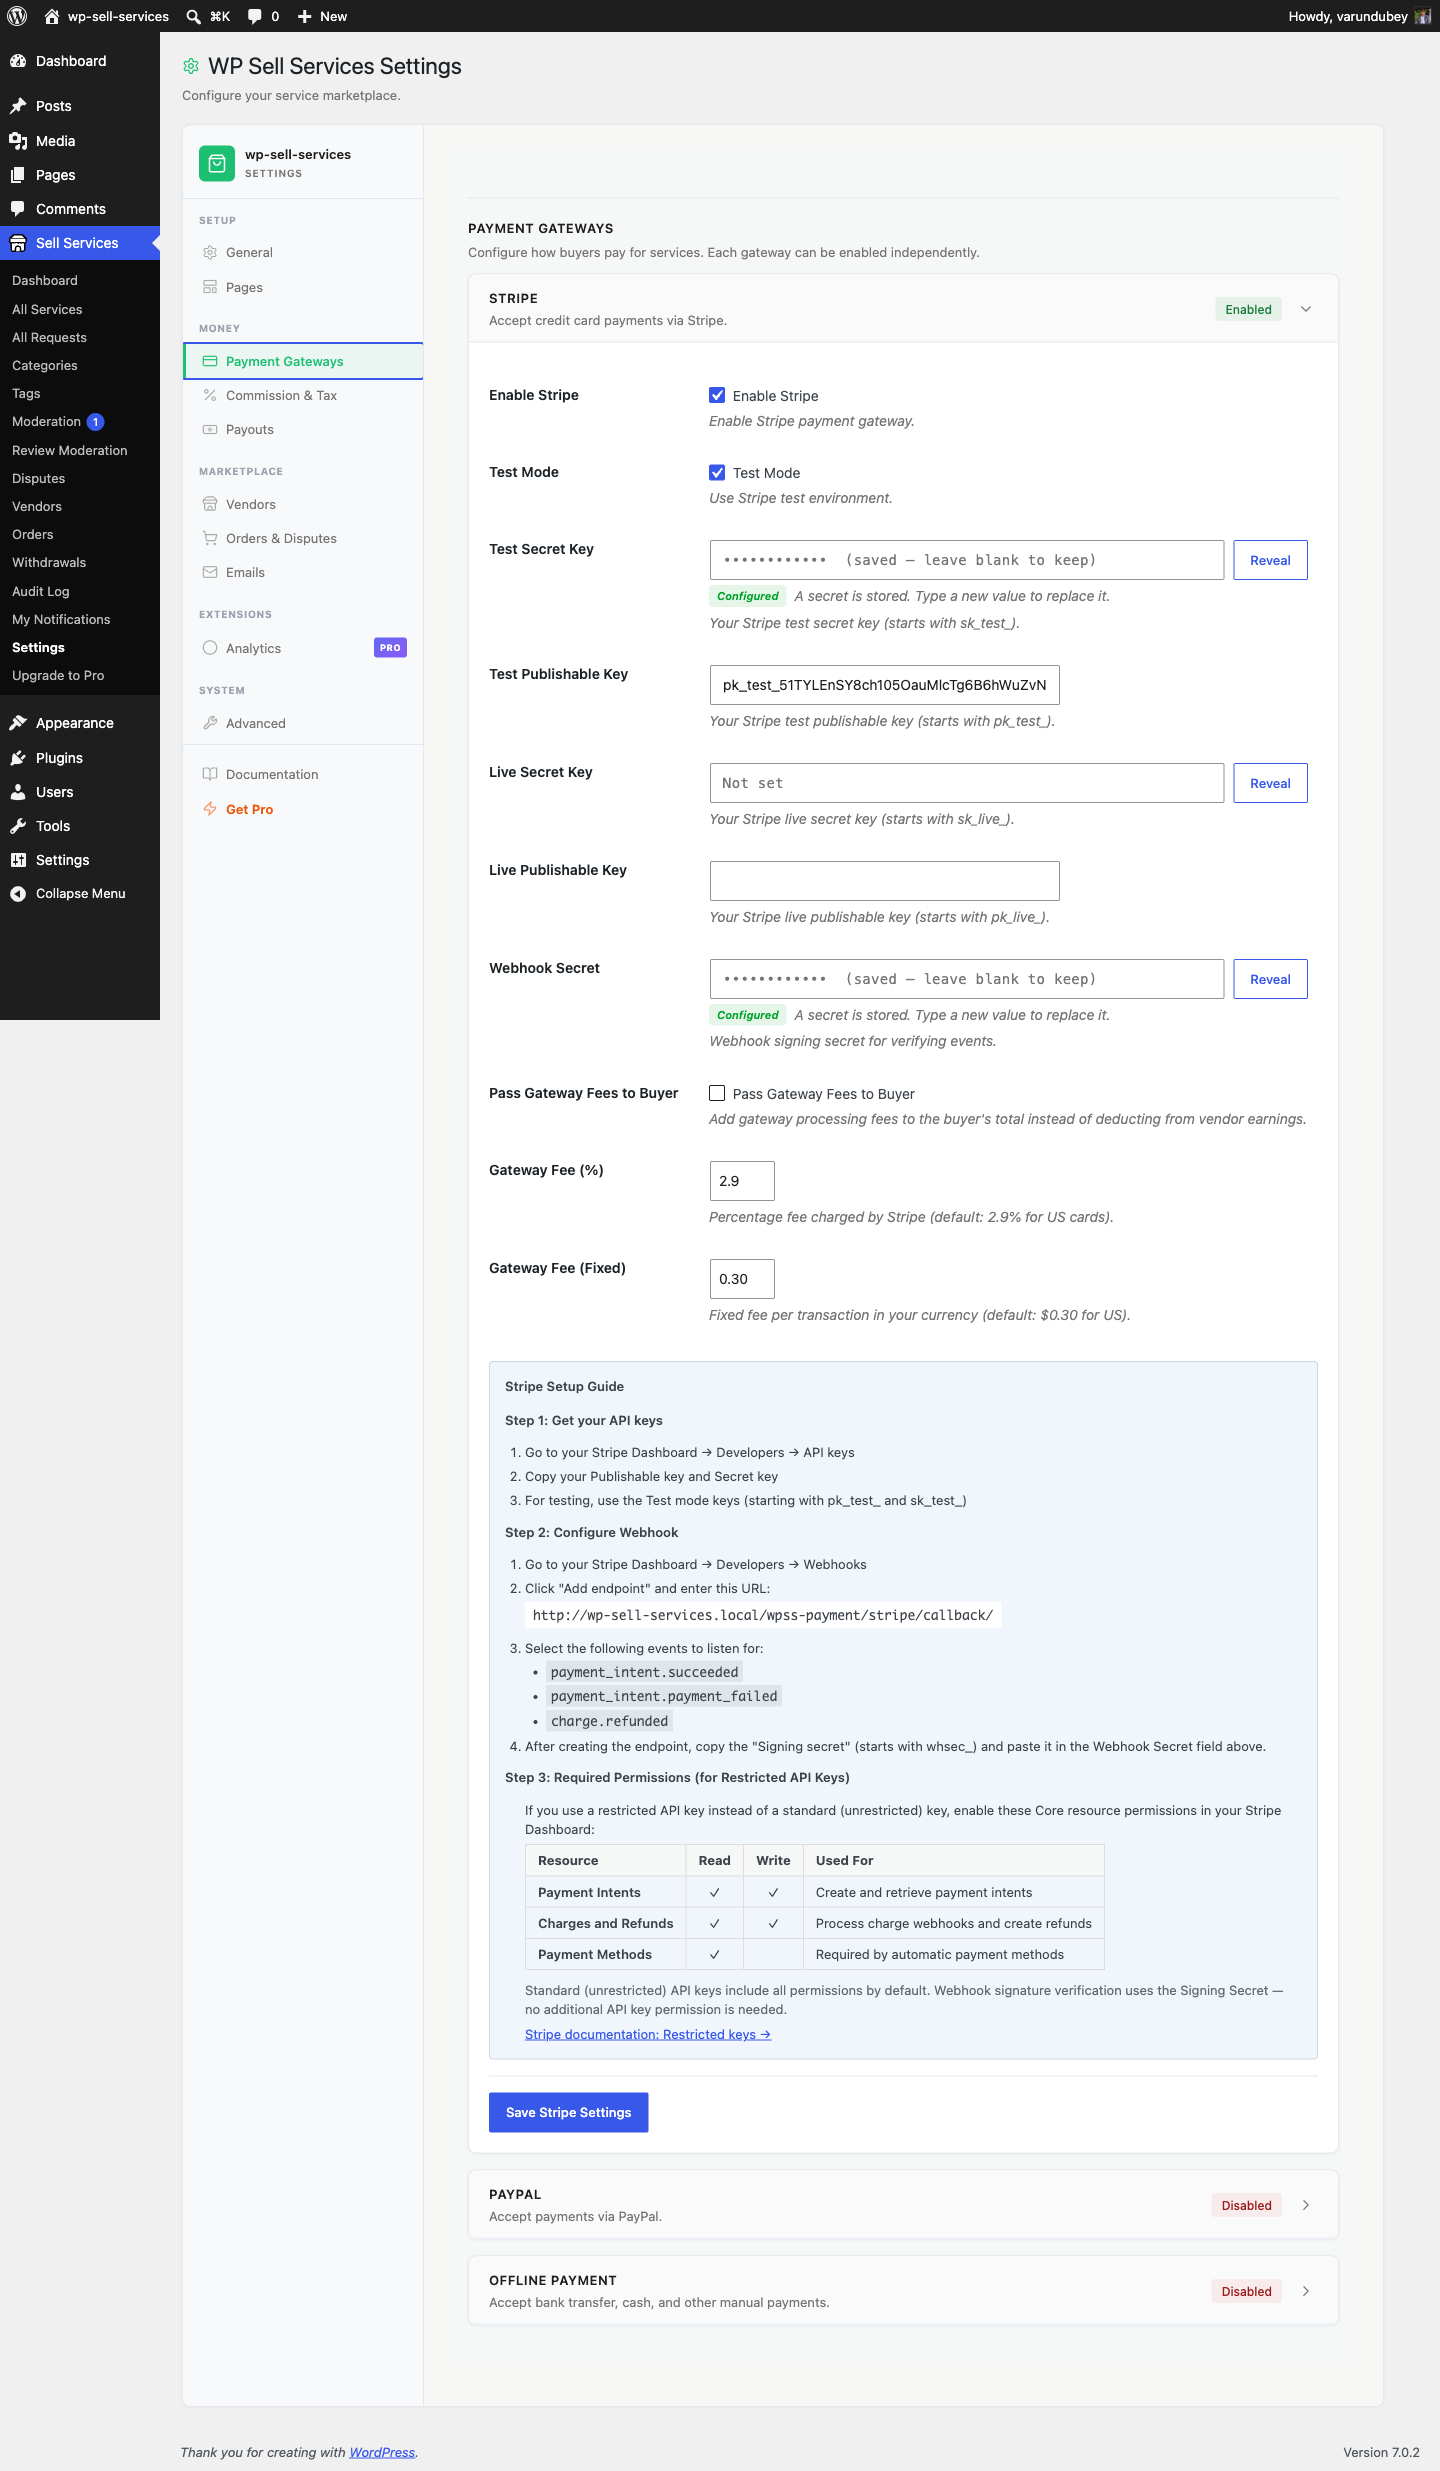
- In WordPress, go to Sell Services > Settings > Payment Gateways
- Check Enable PayPal and paste your credentials
- Click Save Changes
Sandbox (Test) Mode
PayPal provides a full sandbox environment for testing without real money.
- Go to PayPal Developer Dashboard
- Under Sandbox, click Accounts -- PayPal auto-creates a sandbox business and personal account
- Click Apps & Credentials and make sure Sandbox tab is selected (not Live)
- Create a sandbox app or use the default one
- Copy the Client ID and Secret from the sandbox app
- In WP Sell Services settings, check Sandbox Mode and paste the sandbox credentials
- Use the sandbox personal account email to test buyer checkout
Sandbox test credentials:
- Login: Use the sandbox personal account from Developer Dashboard
- Any sandbox credit card will work for testing
To go live: Switch to the Live tab in PayPal Developer Dashboard, create a live app, copy the live credentials, and uncheck Sandbox Mode in WP Sell Services.
Setting Up PayPal Webhooks
- In PayPal Developer Dashboard, go to Webhooks
- Add your endpoint:
https://yoursite.com/wpss-payment/paypal/callback - Select events:
PAYMENT.CAPTURE.COMPLETEDandPAYMENT.CAPTURE.REFUNDED - Save and copy the Webhook ID to your WP Sell Services settings
How Checkout Works
Buyers see a PayPal button on your checkout page. They can:
- Pay with their PayPal balance
- Use a credit or debit card (no PayPal account needed)
- Pay with Venmo (US buyers only)
PayPal's Smart Payment Buttons automatically show the most relevant options for each buyer.
PayPal Transaction Fees
| Type | Fee |
|---|---|
| Domestic (US) | 2.9% + $0.30 |
| International | 4.4% + fixed fee (varies by country) |
Razorpay [PRO]
Razorpay is the go-to payment gateway for marketplaces serving buyers in India. It supports UPI, cards, net banking, and mobile wallets.
Setting Up Razorpay
- Create a Razorpay account at razorpay.com
- Complete the KYC process (PAN, GSTIN, bank details)
- Get your API keys from Settings > API Keys in the Razorpay Dashboard
- In WordPress, go to Sell Services > Settings > Payment Gateways
- Check Enable Razorpay and enter your Key ID and Key Secret
- Click Save Changes
Test Mode
Razorpay provides test mode keys for development.
- In Razorpay Dashboard, go to Settings > API Keys
- Switch to Test Mode using the toggle
- Generate test API keys -- they start with
rzp_test_ - In WP Sell Services settings, check Test Mode and paste the test credentials
Test payment methods:
- UPI: Use
success@razorpayfor successful payments,failure@razorpayfor failures - Cards: Use Razorpay's test card numbers
- Net Banking: Any test bank option works in test mode
To go live: Generate live API keys (start with rzp_live_), complete KYC verification, and uncheck Test Mode.
Razorpay Webhooks
- In Razorpay Dashboard, go to Webhooks
- Add endpoint:
https://yoursite.com/wpss-payment/razorpay/callback - Select events:
payment.authorized,payment.captured,payment.failed,refund.created - Copy the Webhook Secret to your WP Sell Services settings
Payment Methods Available
- UPI: Google Pay, PhonePe, Paytm, BHIM
- Cards: Visa, Mastercard, Amex, RuPay
- Net Banking: 50+ Indian banks
- Wallets: Paytm, PhonePe, Mobikwik
Razorpay Transaction Fees
| Method | Fee |
|---|---|
| UPI | Free (promotional) |
| Domestic cards | 2% |
| International cards | 3% + GST |
| Net banking | Around 3-10 INR per transaction |
Offline / Bank Transfer Payments
Offline payments let you accept bank transfers, checks, or any manual payment method. This is useful for high-trust relationships or regions where online payment adoption is low.
Setting Up Offline Payments
- Go to Sell Services > Settings > Payment Gateways
- Check Enable Offline Payments
- Set a title like "Bank Transfer" or "Pay by Check"
- In the Instructions field, add your payment details (bank name, account number, routing number, etc.)
- Click Save Changes
How It Works
- Buyer selects offline payment at checkout
- Order is created with Pending Payment status
- Buyer sees your payment instructions and sends money
- You check your bank statement and verify the payment
- In the order, click Confirm Payment
- Order moves to In Progress and the vendor is notified to begin work
When to Use Offline Payments
- Buyers who prefer direct bank transfers
- Phone orders or special arrangements
- Markets where online payment is less common
- High-value orders where buyers want wire transfers
Using Multiple Gateways at Once
You can enable as many gateways as you like. Buyers will see all enabled options at checkout and choose the one they prefer. There is no limit on how many gateways you run simultaneously.
Gateway Comparison
| PayPal | Razorpay [PRO] | Offline | |
|---|---|---|---|
| Instant payment | Yes | Yes | No (manual confirmation) |
| Auto-confirmation | Yes | Yes | No |
| Refunds | Automatic | Automatic | Manual |
| Best for | Global buyers | India | High-trust / manual |
| Transaction fees | 2.9-4.4% | 0-3% | None |
Test Gateway (Development Only)
WP Sell Services includes a built-in Test Gateway for developers. It auto-completes payments instantly -- no external accounts, API keys, or webhooks needed.
Enabling the Test Gateway
The Test Gateway only appears when WP_DEBUG is enabled in wp-config.php:
define( 'WP_DEBUG', true );
Once enabled, "Test Gateway" appears as a payment option at checkout with a "Development Mode" banner.
How It Works
- Buyer selects "Test Gateway" at checkout
- Clicks "Pay" -- no card details needed
- Payment is instantly marked as successful
- Order is created and moved to "Pending Requirements"
- A test transaction ID is generated (
test_prefix)
When to Use It
- Plugin development -- test the full order lifecycle without setting up Stripe/PayPal
- Theme development -- test checkout page styling and flow
- QA testing -- rapid order creation for testing requirements, delivery, disputes
- Demo sites -- showcase the marketplace without real payment credentials
Important: The Test Gateway is NOT available on production sites where WP_DEBUG is false. It cannot be enabled via settings -- only via wp-config.php.
Troubleshooting
| Problem | Solution |
|---|---|
| PayPal button not appearing | Ensure your PayPal Client ID is correct and the app is approved. Check browser console for JavaScript errors. |
| PayPal webhook not received | Verify webhook URL is https://yoursite.com/wpss-payment/paypal/callback. PayPal requires HTTPS for webhooks. |
| Razorpay "Bad Request" error | Check that Key ID and Key Secret match the same mode (test or live). |
| Razorpay webhook failing | Verify the Webhook Secret matches. Razorpay webhooks require the exact URL with no trailing slash changes. |
| Offline payment order stuck at "Pending" | Admin must manually confirm payment in Sell Services > Orders > click "Confirm Payment". |
| Test Gateway not showing | Enable WP_DEBUG in wp-config.php. The Test Gateway is hidden on production sites. |
| Gateway not appearing at checkout | Go to Settings > Payment Gateways and verify the gateway is checked as "Enabled". |
| Currency not supported | Check your gateway's supported currencies. Some gateways (Razorpay) only support certain currencies. |
Related Docs
- Stripe Payments -- Card payments with Stripe
- Standalone Mode -- Built-in checkout system
- Currency and Tax -- Financial settings