How to Find and Purchase a Service
This guide walks you through the complete buying experience -- from discovering a service to placing your order and getting started with your vendor.
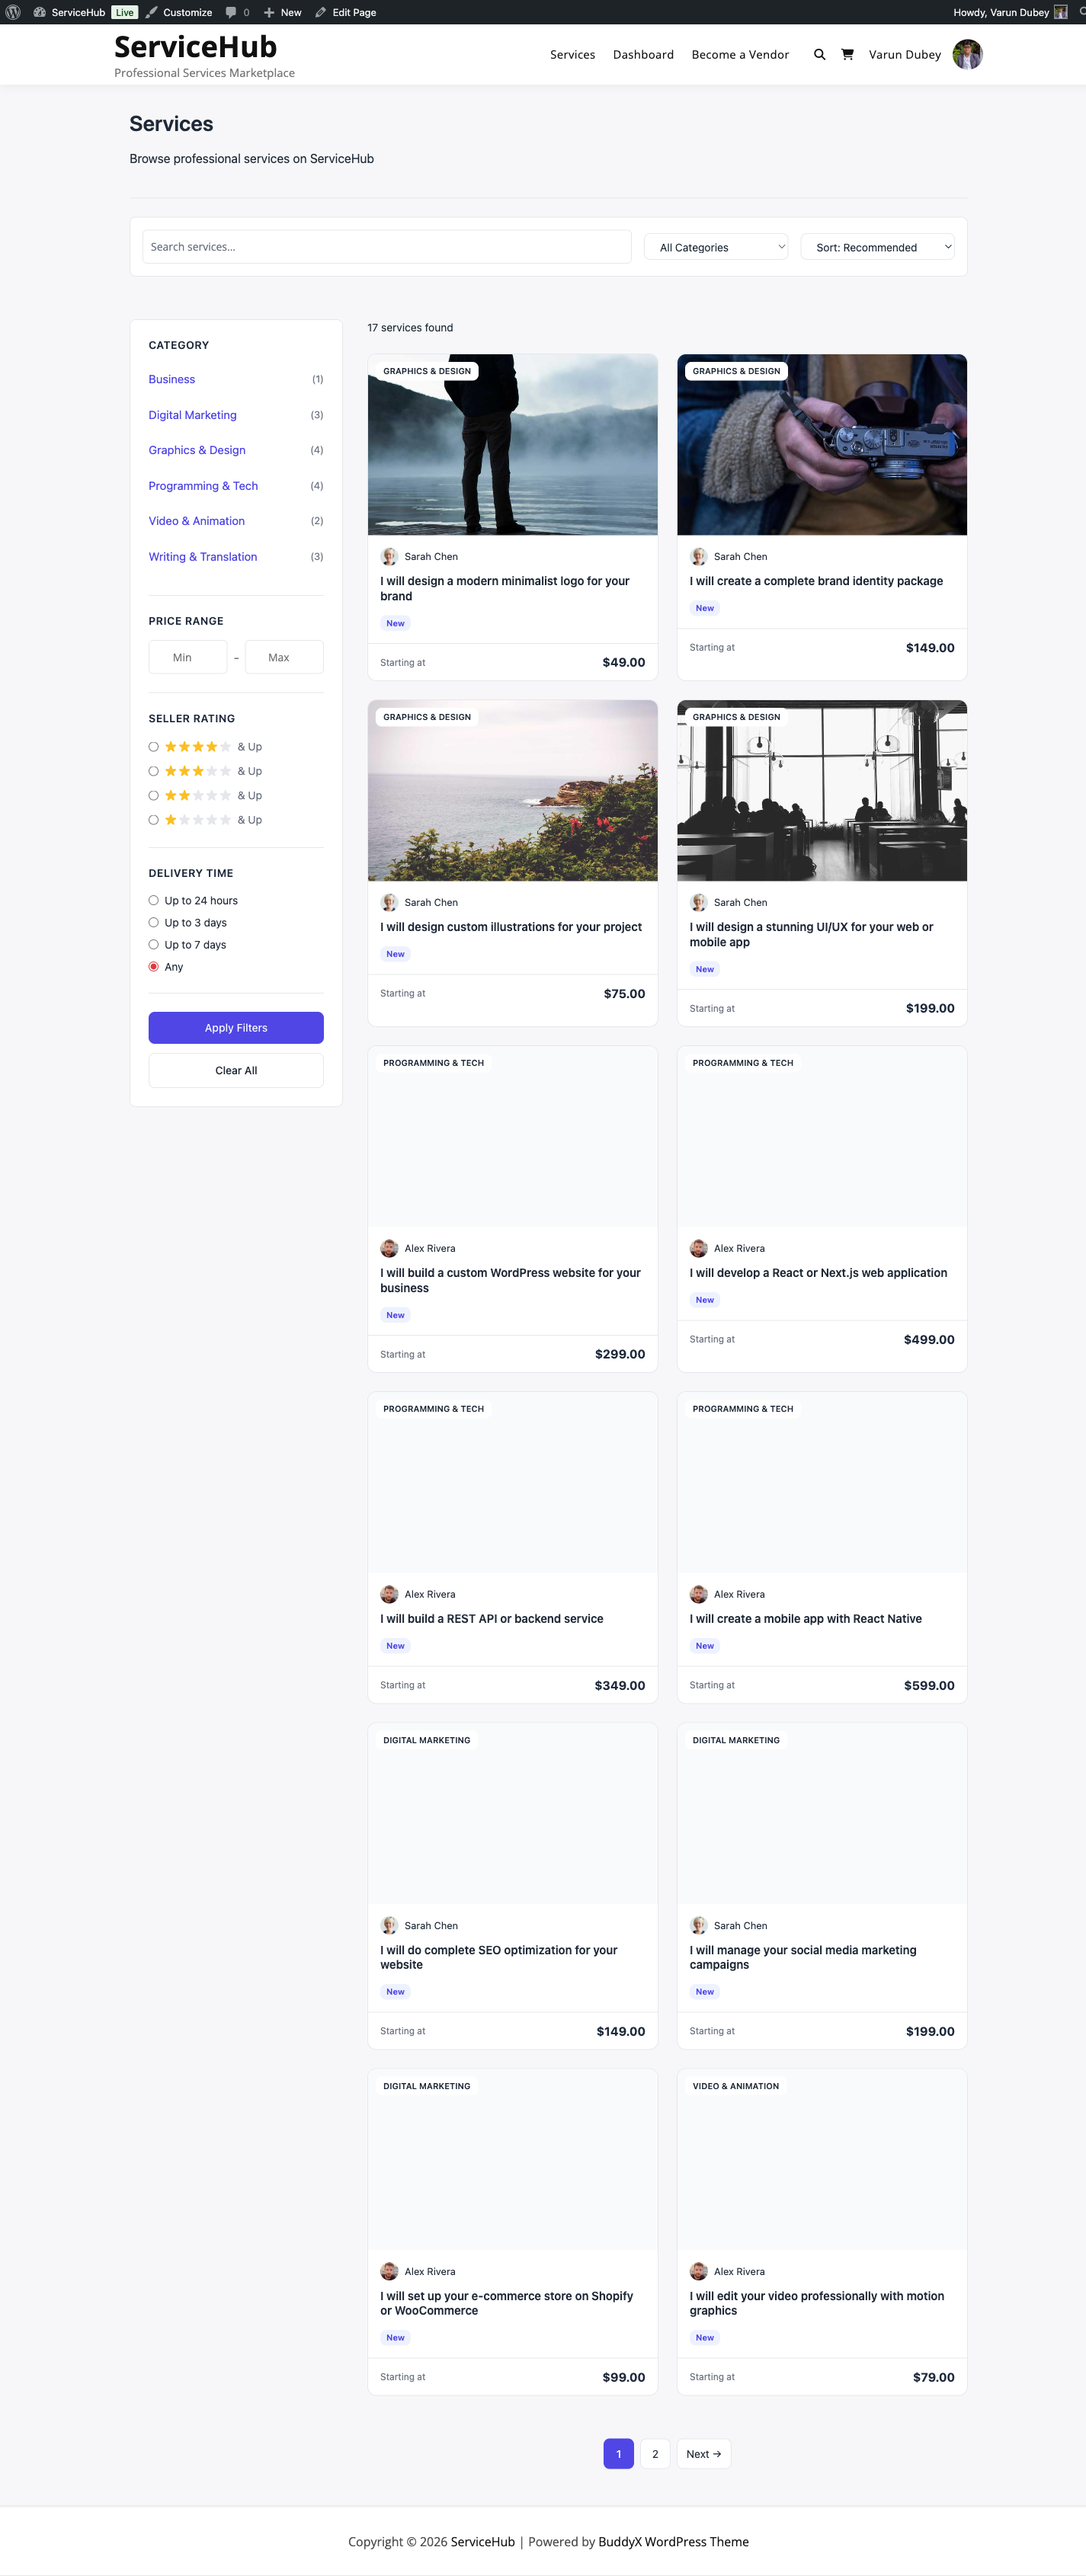
Step 1: Browse the Marketplace
Visit the Services page to see all available services. You have several ways to find what you need:
Search by Keyword
Type what you are looking for into the search bar at the top of the page. The search checks service titles, descriptions, and excerpts.
Examples: "logo design," "WordPress development," "SEO audit"
Filter by Category
Use the category dropdown or click a category on the category grid to narrow results. Only categories with published services are shown.
Sort Results
Use the sort dropdown to reorder results:
| Sort Option | Best For |
|---|---|
| Newest | Discovering fresh services |
| Price (low to high) | Finding affordable options |
| Price (high to low) | Finding premium services |
| Top Rated | Finding proven vendors |
| Most Popular | Finding best sellers |
Browse Vendor Profiles
Click on any vendor name or avatar to see their full profile, including their bio, portfolio, ratings, seller level, and all their services.
Step 2: Explore a Service
Click on any service card to open its detail page. Here is what you will find:
Service Gallery
A photo and video gallery showing examples of the vendor's work. Scroll through images to get a visual sense of quality.
Description
The vendor's detailed explanation of what they offer, their process, and what makes their service unique.
Packages
Every service offers up to 3 pricing tiers -- Basic, Standard, and Premium. Each package shows:
- Price -- clearly displayed at the top
- Delivery time -- how many days the vendor needs
- Revisions included -- how many rounds of changes you get
- Feature checklist -- specific deliverables included or excluded
Use the tabs to switch between packages and compare what each tier includes. See Choosing the Right Package for detailed guidance.
Add-ons
Some services offer optional extras you can add to any package. These appear below the package details with their own prices. Common add-ons include faster delivery, extra revisions, or additional deliverables.
FAQs
Vendors often include answers to common questions about their service. Check this section before messaging -- your question may already be answered.
Reviews
Scroll down to see ratings and reviews from previous buyers. Each review includes a star rating, written feedback, and the buyer's name. Look for the Verified Purchase badge to confirm the reviewer actually bought the service.
Vendor Info
A sidebar card shows the vendor's profile summary -- their avatar, rating, response time, seller level, and total completed orders.
Step 3: Select a Package
Once you have found a service you want:
- Choose your package -- Click the tab for Basic, Standard, or Premium
- Review the details -- Check delivery time, revisions, and features
- Add any extras -- Select optional add-ons if offered
- Click "Continue" -- This adds the service to your cart
The button shows the total price including your selected package and any add-ons.
Tip: You can add services from multiple vendors to your cart. Each one becomes a separate order with its own delivery tracking.
Step 4: Review Your Cart
The cart page shows everything you are about to purchase:
- Service name and selected package for each item
- Add-ons you selected (if any)
- Individual prices and the order total
- Tax (if the marketplace charges it)
You can remove items from your cart or go back to add more services before proceeding.
Step 5: Complete Checkout
Click Proceed to Checkout to reach the checkout page.
Billing Details
Fill in your name and email address. The marketplace needs these to create your account (if you do not have one) and send order notifications.
Order Summary
Review your items one final time. The breakdown shows package price, add-ons, tax (if applicable), and the total amount.
Choose Payment Method
Select how you want to pay from the available gateways:
| Payment Method | How It Works |
|---|---|
| Stripe | Pay with credit/debit card, Apple Pay, or Google Pay |
| PayPal | Pay with your PayPal balance, linked card, or Venmo |
| Offline / Bank Transfer | Transfer funds manually; the marketplace owner confirms receipt |
| Razorpay [PRO] | UPI, cards, net banking, wallets (popular in India) |
Place Your Order
Click Place Order to complete payment. You will see a confirmation page with your order number.
Step 6: What Happens Next
After your order is placed:
- You receive a confirmation email with your order number and details
- The vendor is notified about the new order
- You are asked to submit requirements -- project details the vendor needs to start working (budget, preferences, files, etc.)
- The vendor begins work once your requirements are submitted
- Track progress from your Dashboard under My Orders
If the service has requirements, submit them as soon as possible. The vendor cannot start until they have your project details. The system sends you reminders on day 1, 3, and 5 if you have not submitted yet.
Quick Tips for Buyers
- Compare packages before choosing -- the Standard tier is often the best value
- Read reviews to understand what previous buyers experienced
- Check delivery time to make sure it fits your timeline
- Submit requirements promptly so the vendor can start right away
- Use the messaging system to clarify anything before or during the order
Related Guides
- Choosing the Right Package -- How to compare Basic, Standard, and Premium
- Buyer Dashboard -- Navigate your orders and messages
- Order Tracking -- Follow your order from start to finish
- Requirements Collection -- How to submit project details
- Tips for Getting Great Results -- Communication and revision best practices